English


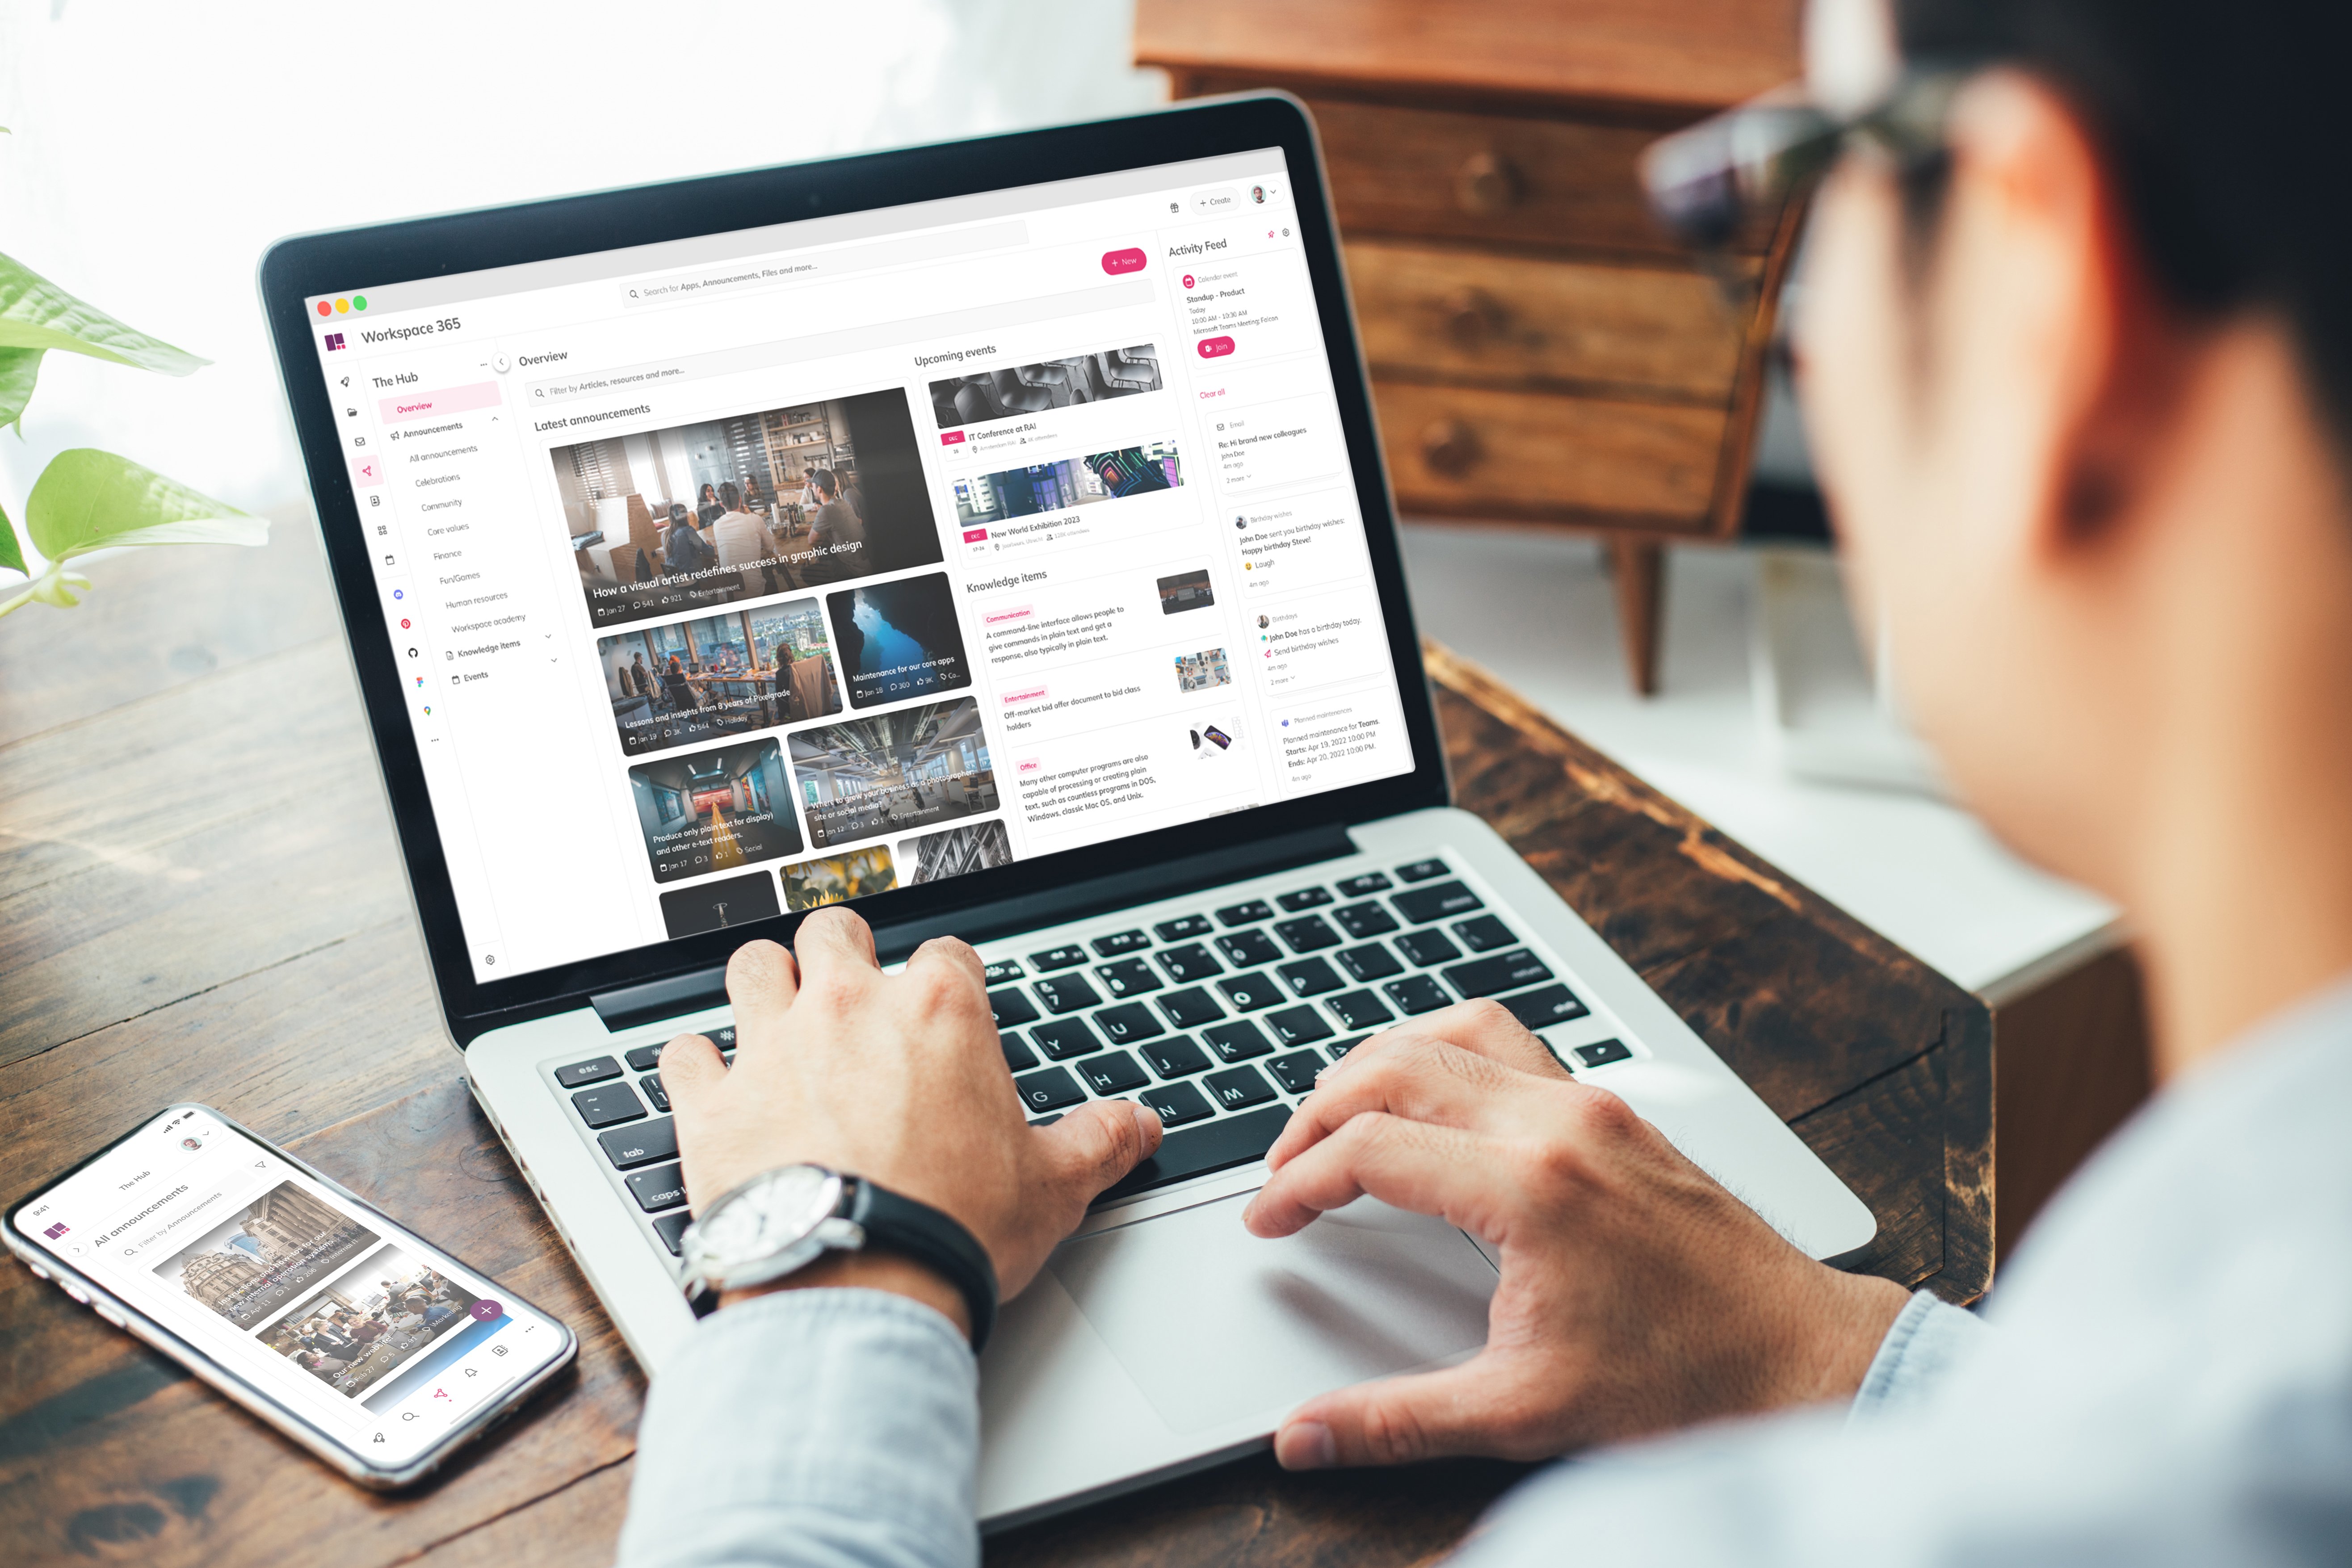
Alles wat je nodig hebt
op één plek
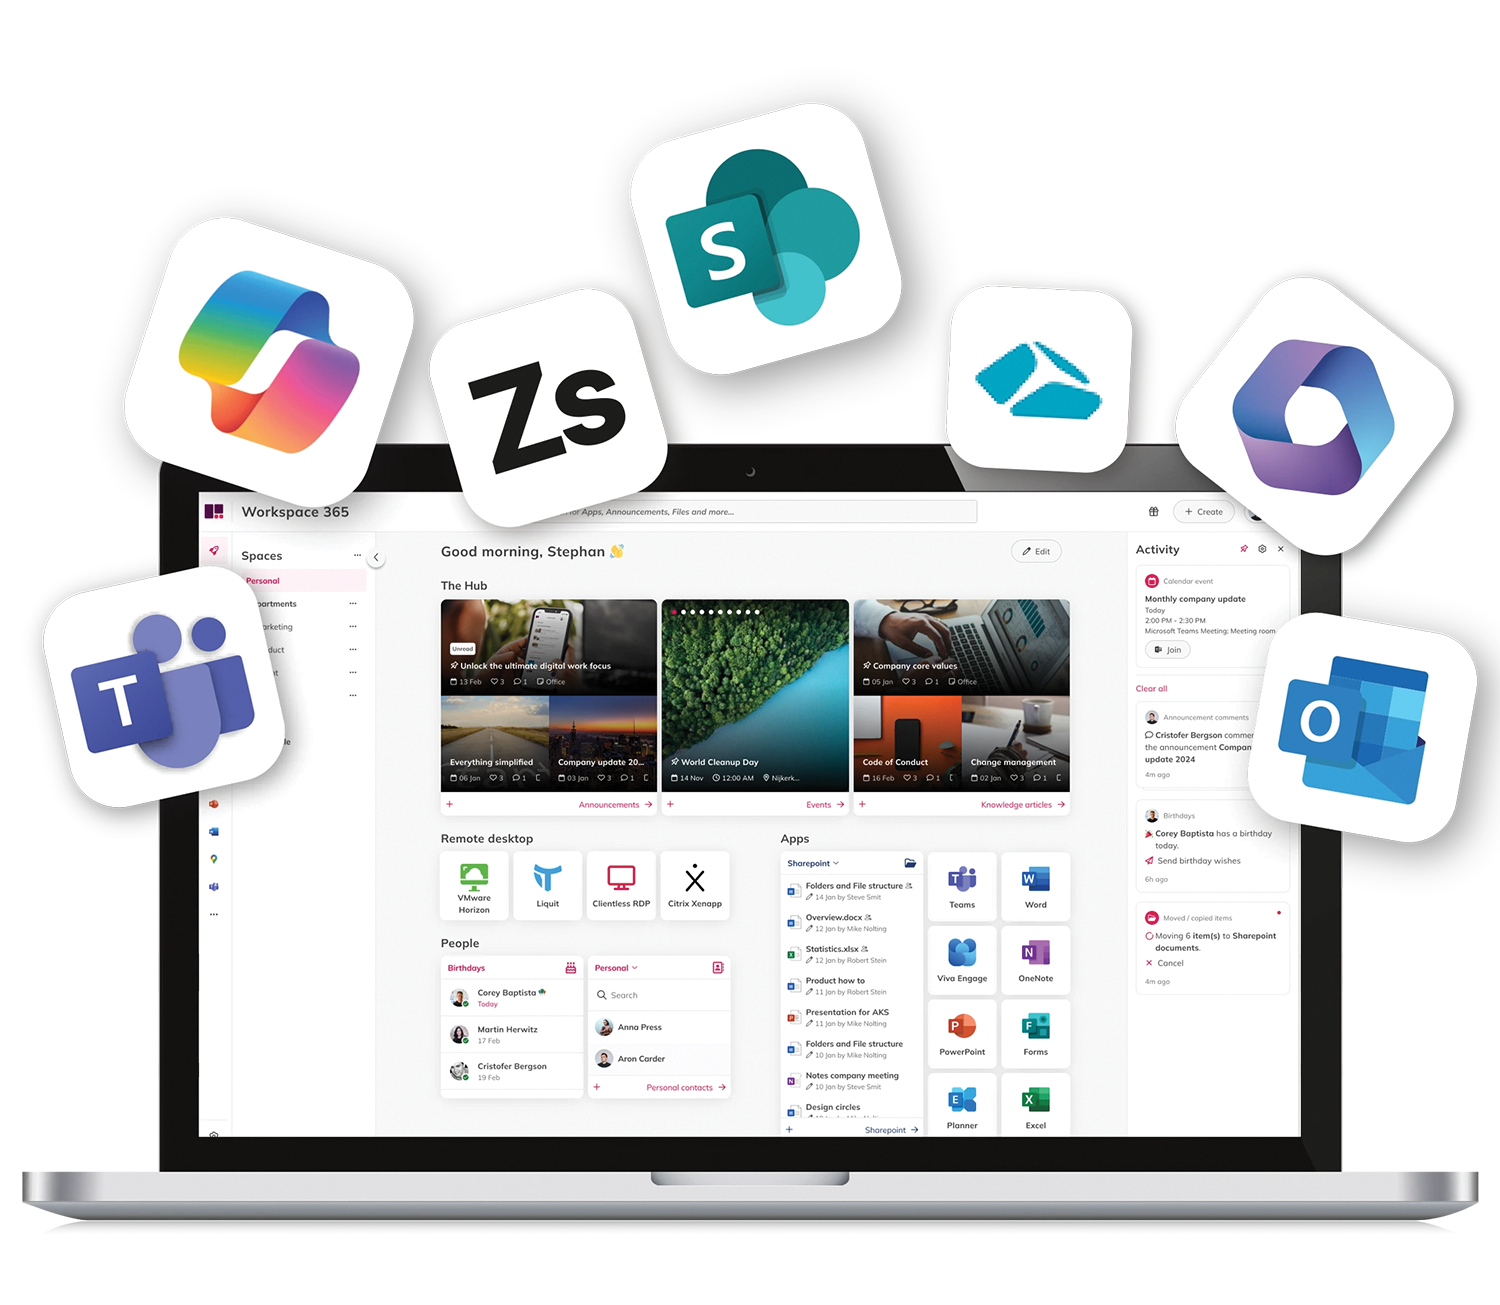
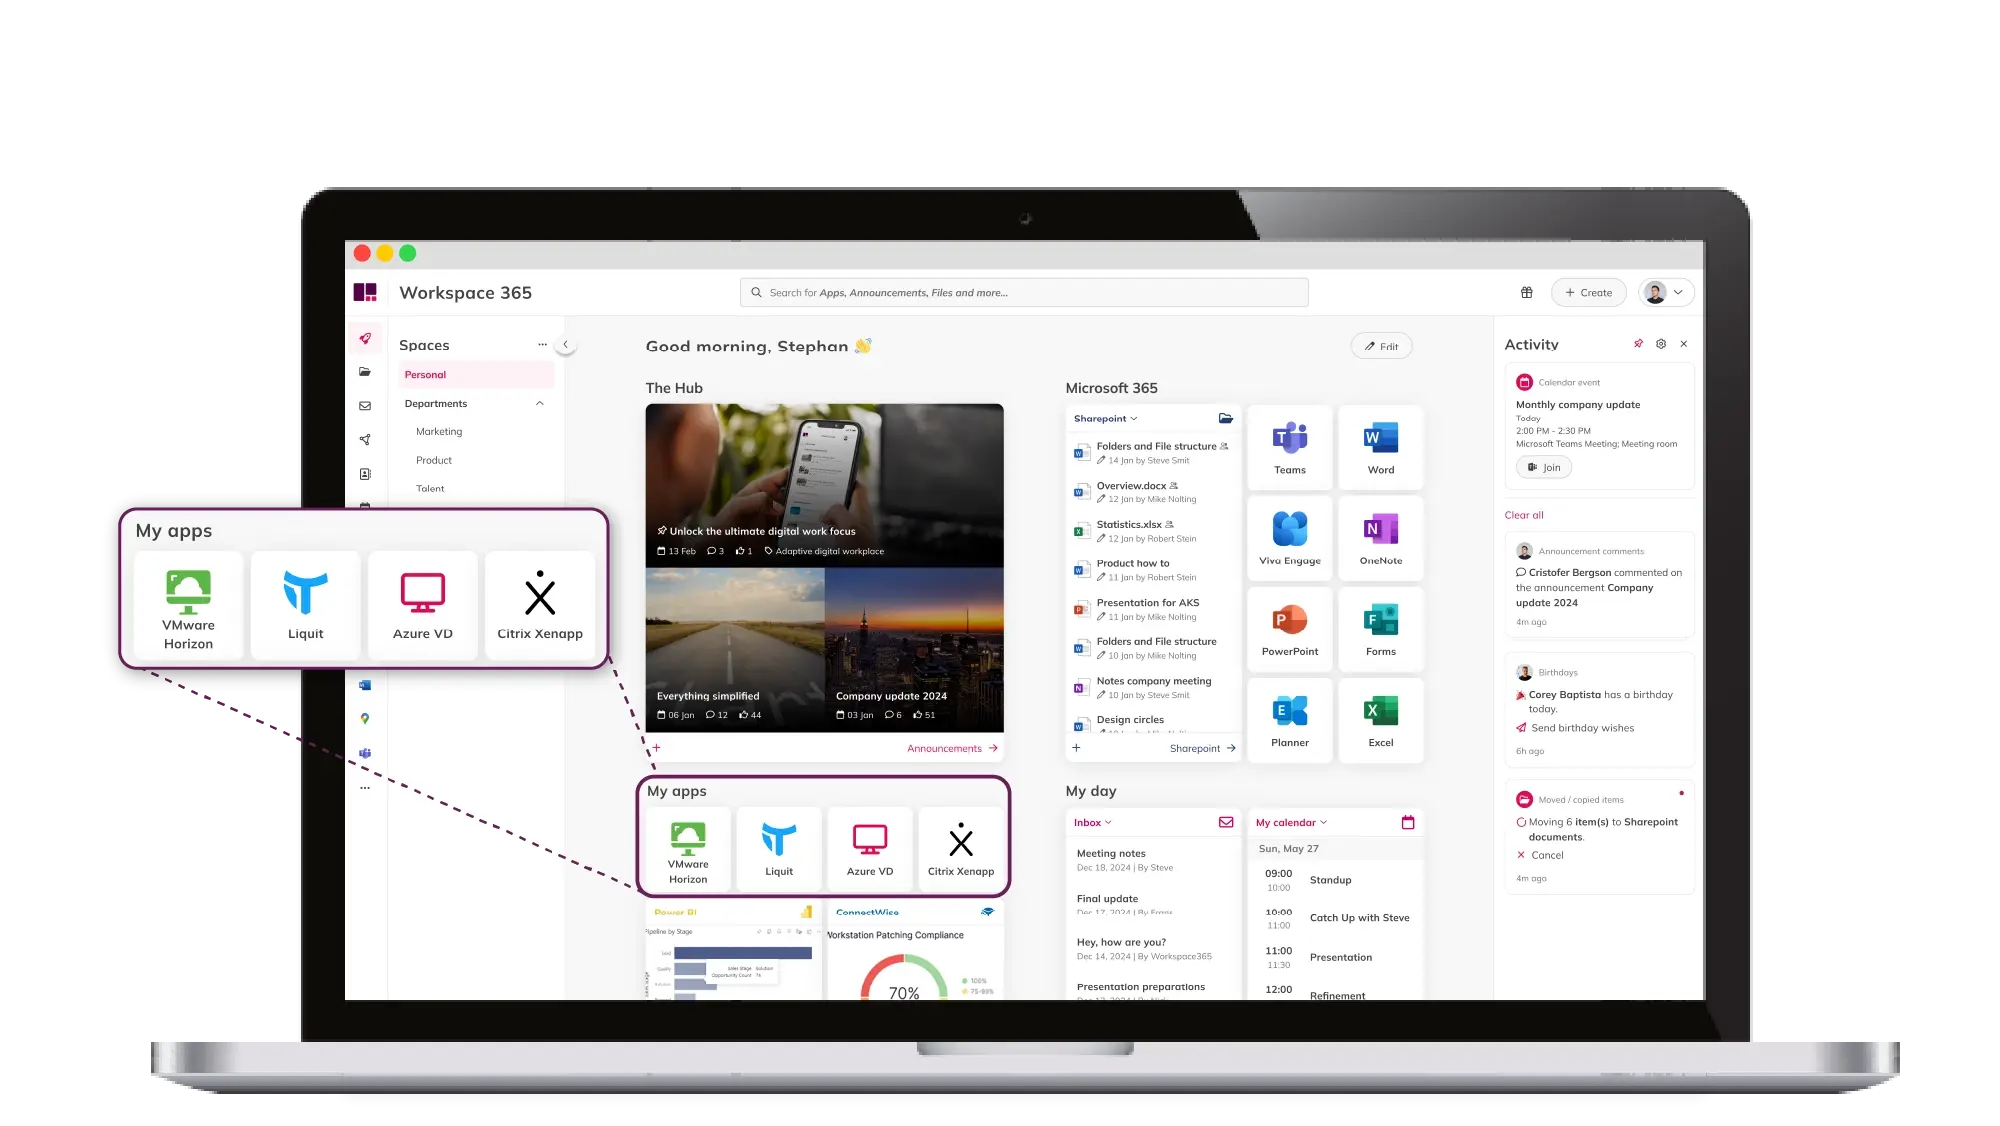
Workspace 365 is niet alleen een platform, maar het vereenvoudigt ook het IT-landschap. Het helpt jou en je team om de ultieme digitale werkfocus te bereiken, zodat je je kunt concentreren op belangrijke taken die echt impact maken.
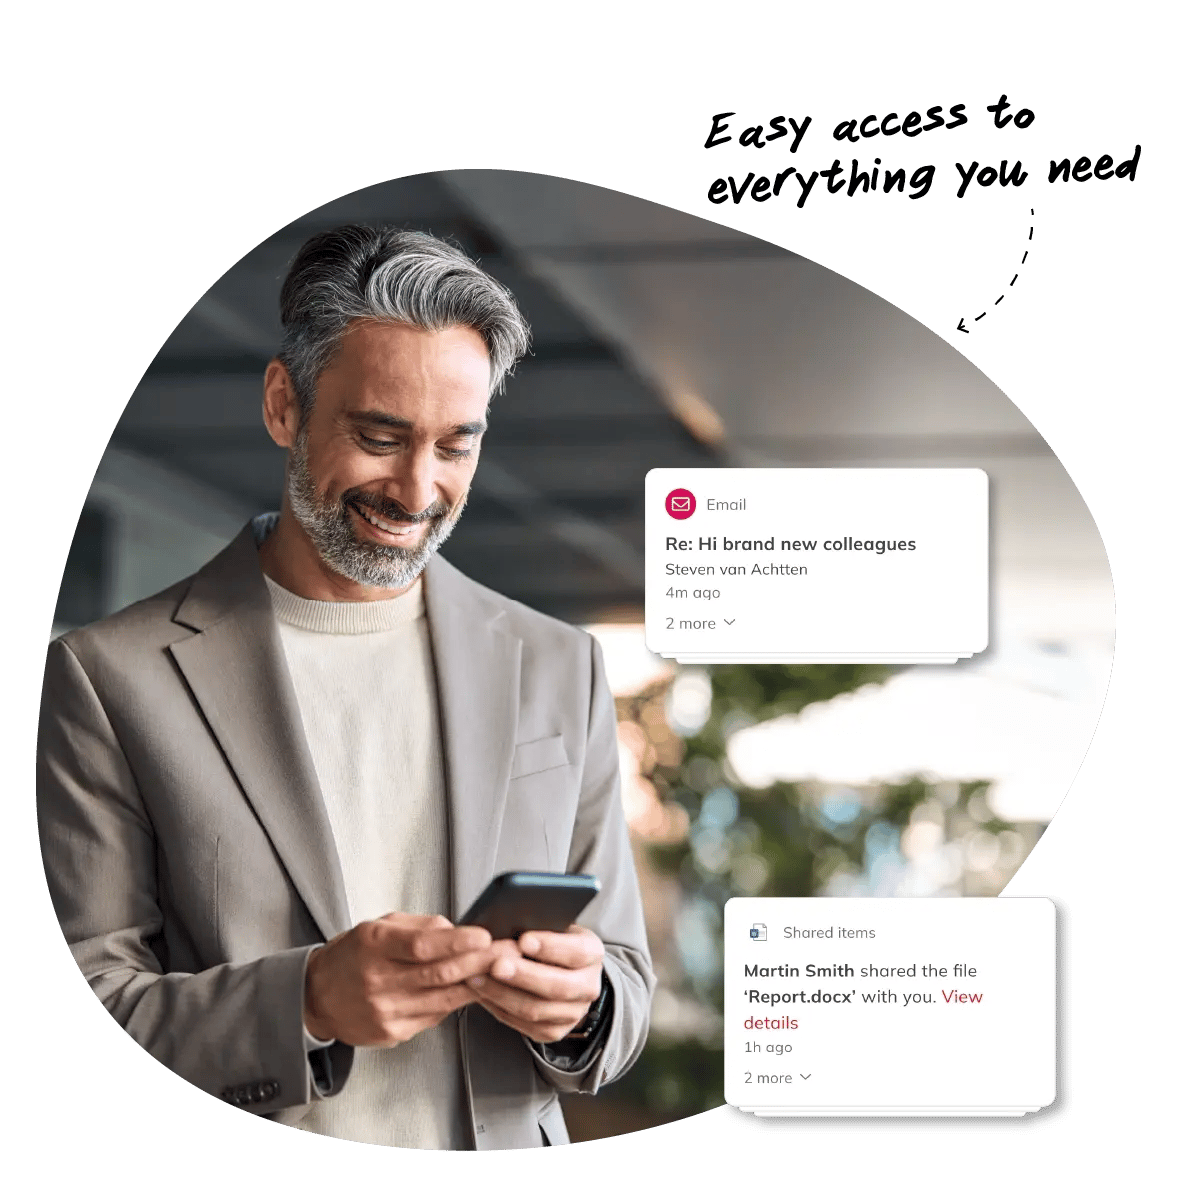
Vereenvoudigde toegang
-
Met één enkele inlog krijg je toegang tot al je apps, documenten en informatie, zodat je productief blijft.
-
Maximaliseer je beveiliging door toegangsvoorwaarden aan te passen op basis van apparaten, netwerken, locatie en meer.
-
Wij bieden flexibiliteit en efficiëntie zonder de beveiliging in gevaar te brengen.
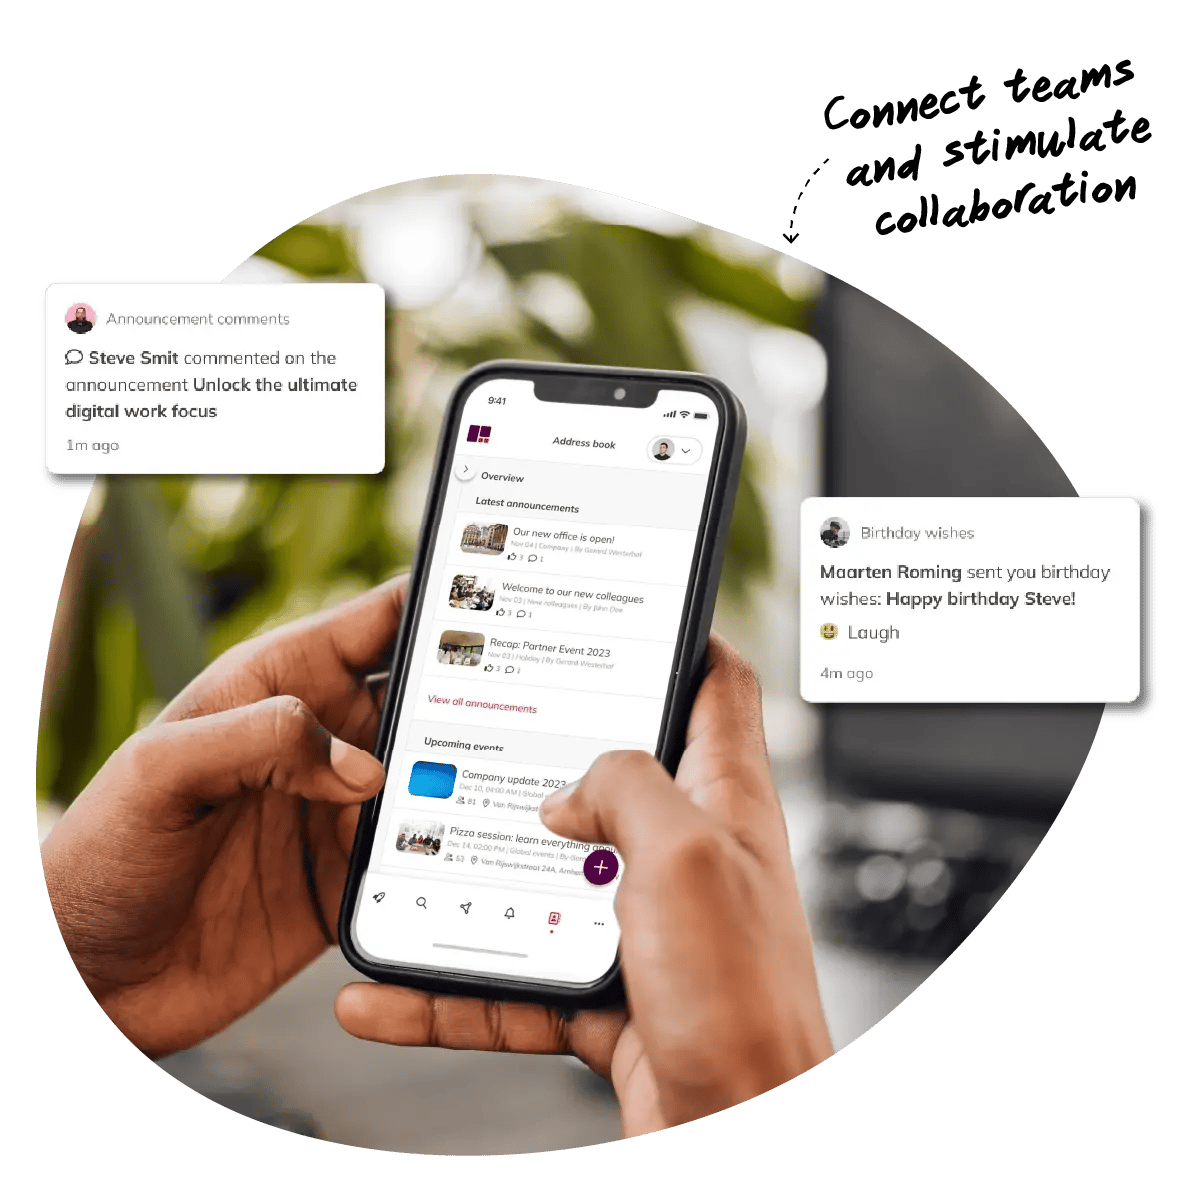
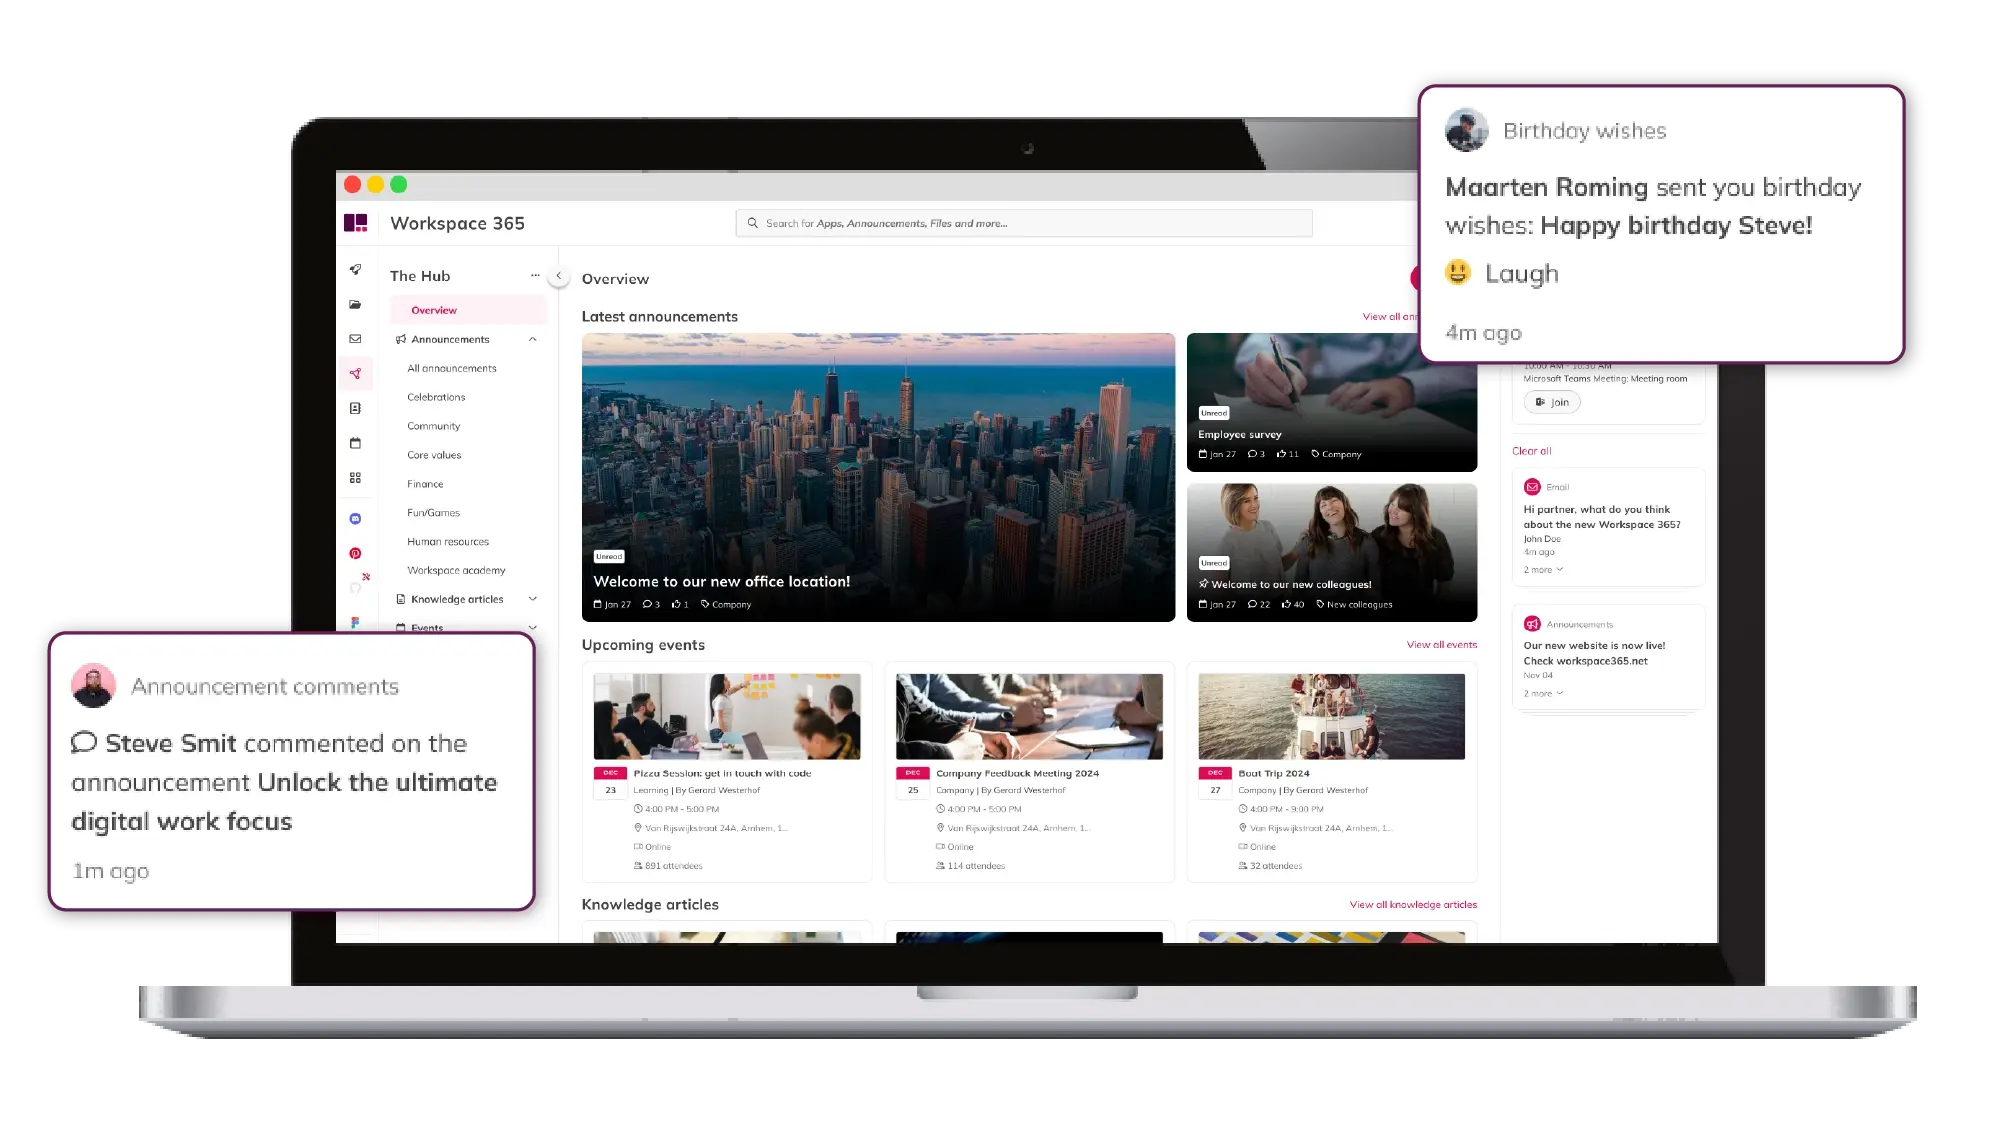
Vereenvoudigde communicatie
-
Verbind je teams, deel kennis en krijg toegang tot belangrijke informatie binnen je digitale werkplek.
-
Met onze intranetfunctionaliteiten versterk je de band tussen medewerkers, bevorder je het effectief delen van informatie en stimuleer je samenwerking.
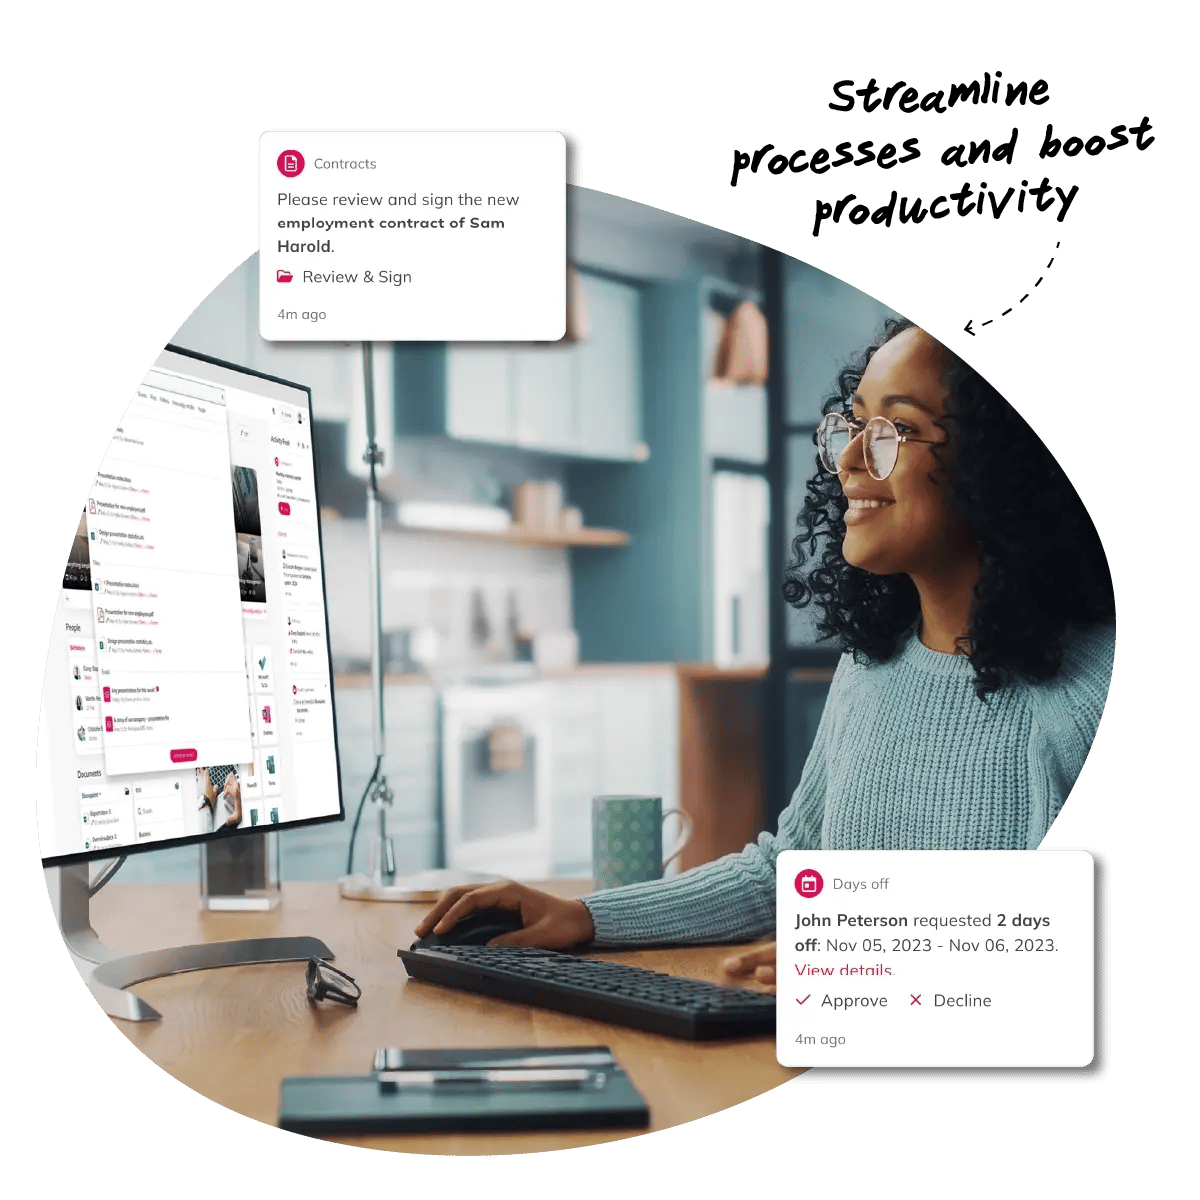
Vereenvoudigde workflows
-
Stroomlijn je processen met één overzicht voor goedkeuringen en updates.
-
Gebruik de Globale Zoekfunctie voor efficiënte zoekopdrachten.
-
Verbind al je apps met Open API's voor een uniforme interface, waardoor productiviteit en connectiviteit toenemen.
-
Onze integraties met TOPdesk, OpenIMS, Egnyte en vele andere vereenvoudigen informatiestromen en verhogen de efficiëntie van medewerkers.
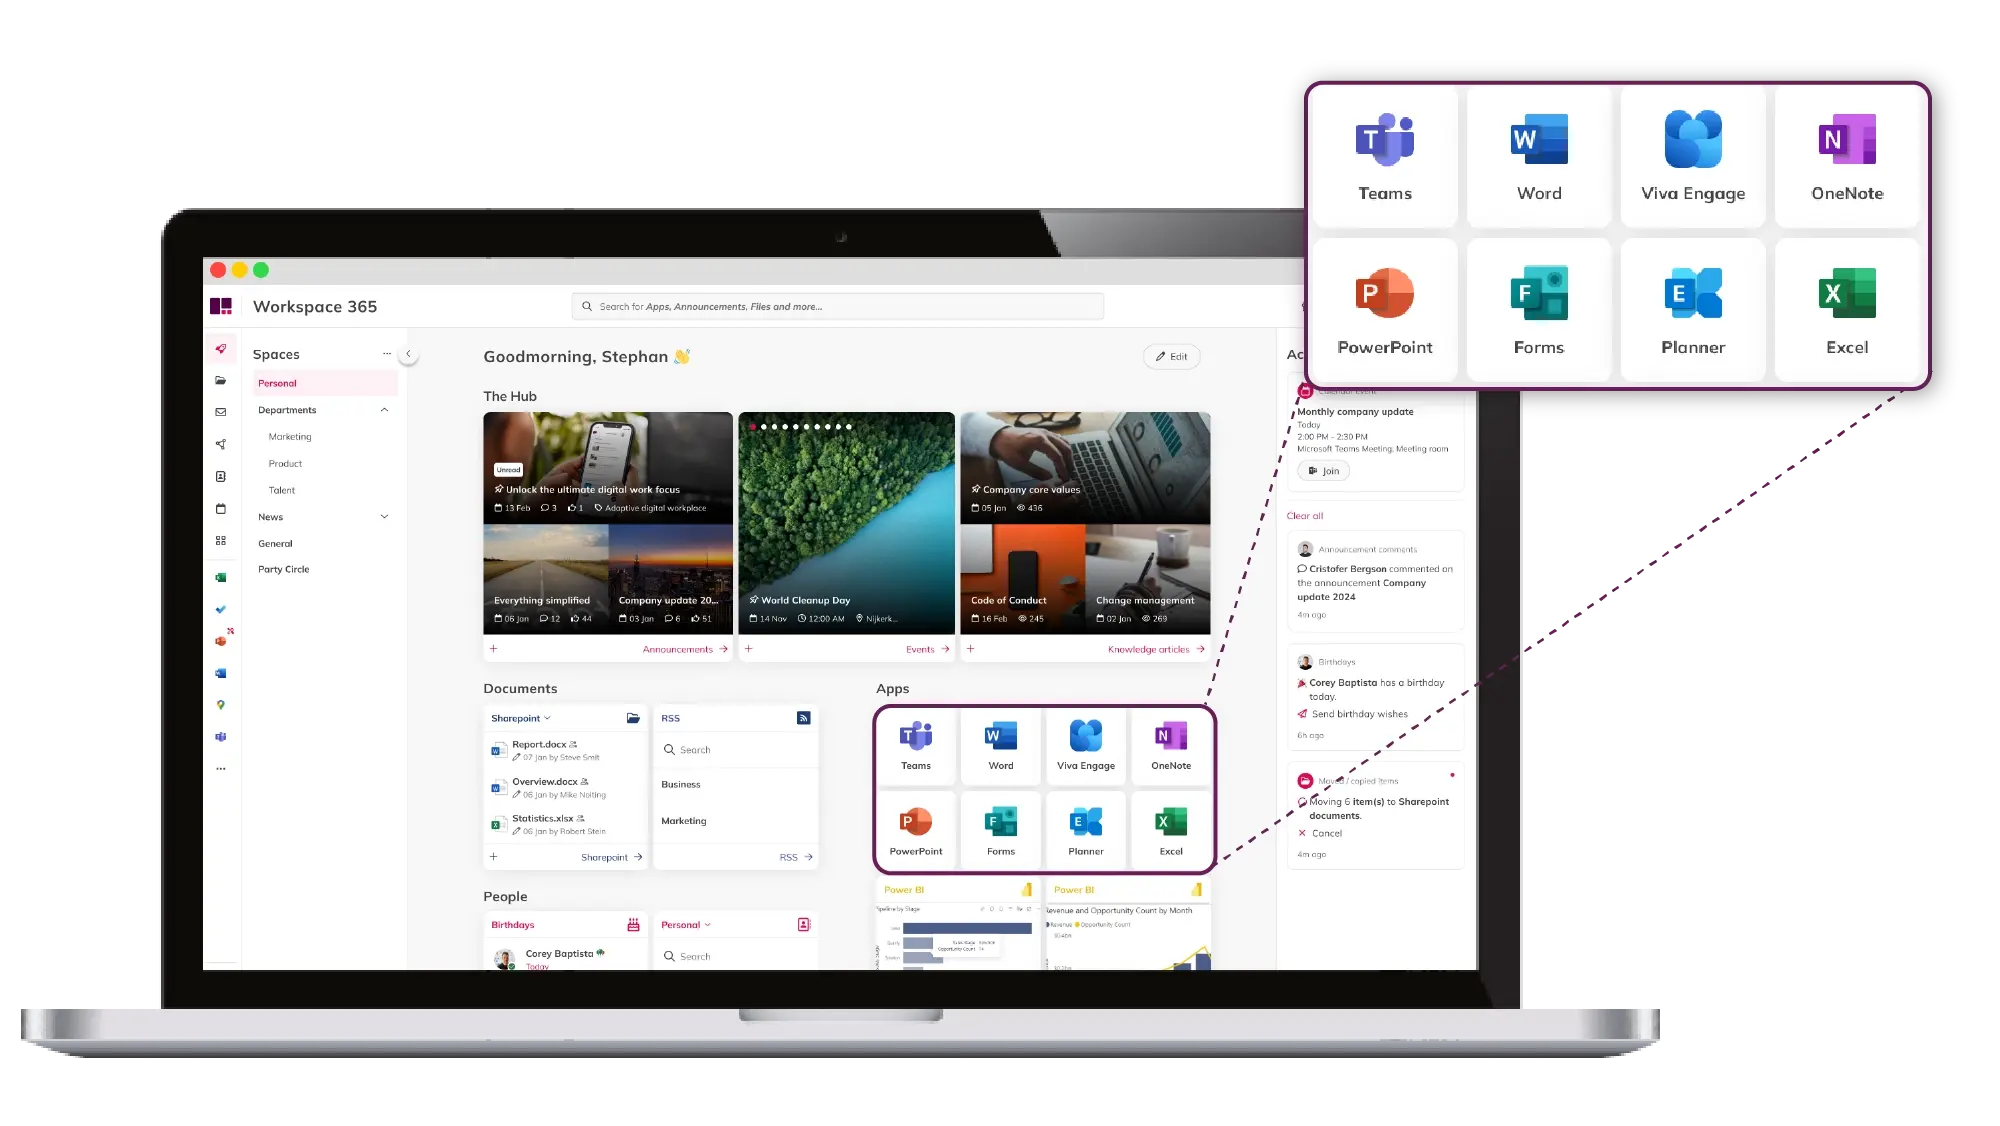
Maximaliseer de waarde van Microsoft 365
Met een intuïtieve interface helpen we je moeiteloos door het Microsoft-ecosysteem te navigeren en veilig te werken met de bestaande beveiligingsprotocollen van Microsoft. Verbind eenvoudig alle Microsoft-applicaties, zoals Microsoft Teams, SharePoint en Microsoft 365 met alle andere technologieën die jij en je teams nodig hebben om optimaal te kunnen werken.
Verbind legacy en cloud systemen
Verbind legacy systemen naadloos met de cloud met tools, waaronder Citrix, Clientless RDP, Azure Virtual Desktop, Fileserver, Vmware en Liquit. Deze oplossingen bieden flexibiliteit en efficiëntie zonder dat dit ten koste gaat van de beveiliging.
Verbeter de Digital Employee Experience
Stroomlijn processen door goedkeuringen en updates in één overzicht weer te geven. Gebruik de slimme Globale Zoekfunctie voor efficiënte zoekopdrachten en maak gebruik van Open API's om al je apps naadloos aan te sluiten op een uniforme interface. Zo verhoog je de productiviteit en connectiviteit. We maken verbinding met TOPdesk, OpenIMS, Egnyte en vele andere integraties om informatiestromen te vereenvoudigen en de efficiëntie van medewerkers te verhogen.
Een gepersonaliseerde ervaring voor iedereen
Onze digitale werkplek is ontworpen om te voldoen aan de veranderende behoeften van hybride werk, dat voor veel medewerkers de norm is geworden. We helpen alle medewerkers het beste uit zichzelf te halen, ongeacht hun functie of locatie. Met een gepersonaliseerde digitale werkplek werken teams beter samen.
HR, mensen en cultuur
- Eén locatie voor alle HR-processen
- Maak werken op afstand mogelijk
- Stimuleer betrokkenheid via mededelingen, evenementen en kennis artikelen
- Maak het gemakkelijk voor medewerkers om met elkaar in contact te komen, ongeacht locatie en afdeling.

Interne communicatie
- Stimuleer samenwerking met geïntegreerde samenwerkingstools
- Doelgerichte content op basis van rollen
- Altijd en overal verbinding op elk apparaat
- Platform voor medewerkersbetrokkenheid.

IT & Informatie management
- Verlaag ticketaanvragen
- Naadloze migratie naar de cloud
- Verbeter DEX voor betere technologie-adoptie
- Stroomlijn gebruikersbeheer
- Vereenvoudig onderhoudsupdates.


Wat medewerkers in de zorg écht frustreert (en wat jij eraan kunt doen)

Het belang van een digitale werkplek
Liquit en Workspace 365: Focus op toegang vs Focus op DEX
Focus op je werk met de digitale werkplek!
Help je medewerkers om volledig te kunnen focussen op hun werk met een adaptieve digitale werkplek.